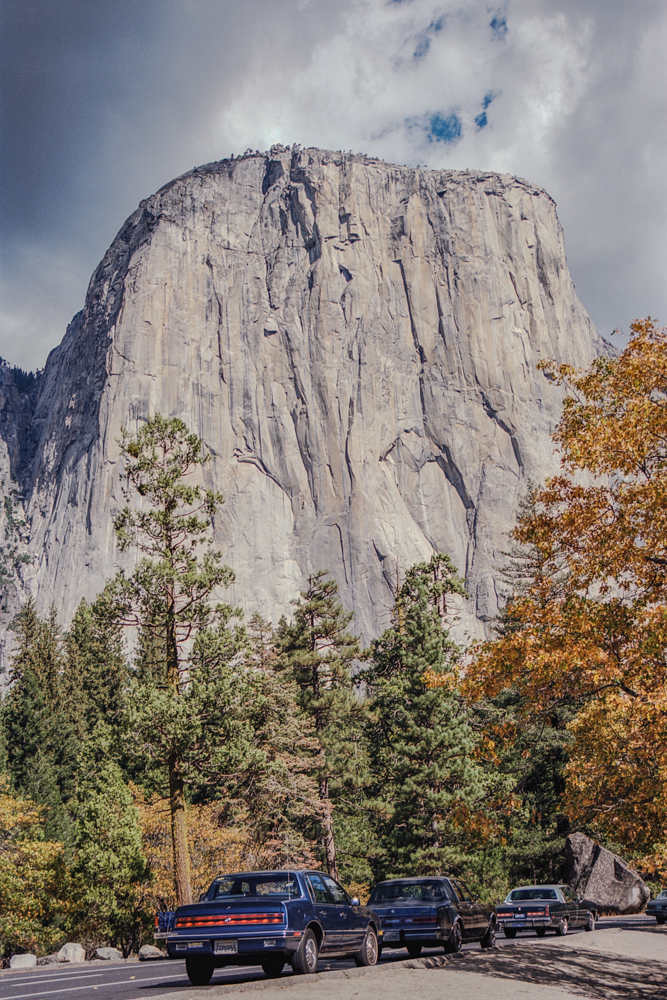
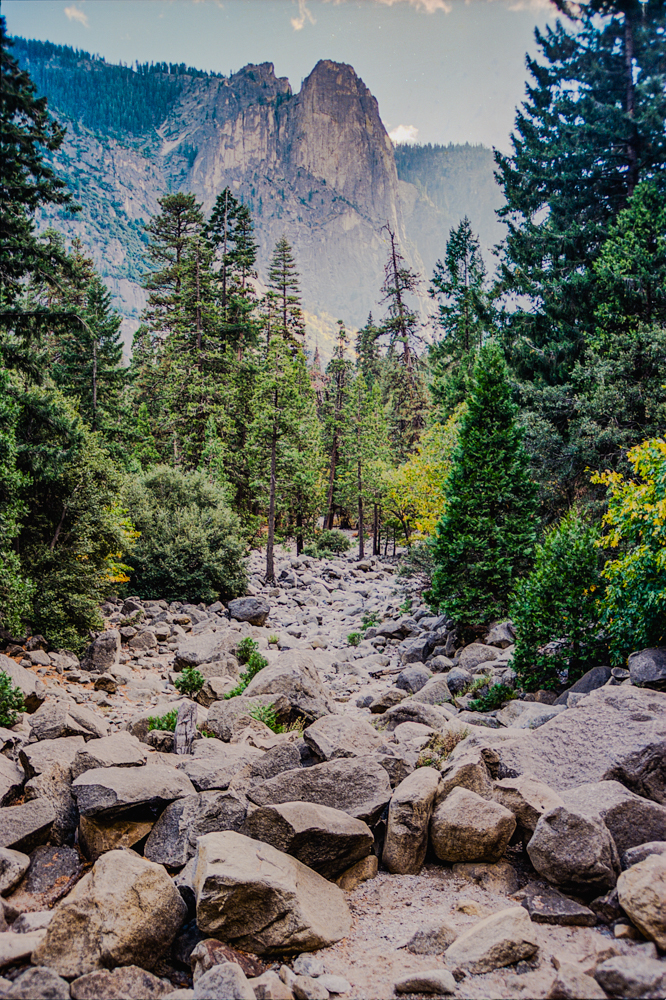
Yosemite, California in October 1990
Below: a selection of photographs taken in 1990 and languishing in boxes for 35 years. With the right hardware and software they turned out to be better than I ever remember them!


Since 2020 I have scanned over 150 rolls of 35mm film. That is about 4,500 photographs! In 2024 I learned that it was possible to scan in RAW and HDR, normally the preserve of digital photography only. But I asked myself, would it really be worthwhile to scan them again in RAW?
The answer is a resounding YES!
It has taken a lot of time and effort, with many mistakes along the way, but I have finally mastered scanning negatives in RAW. HOWEVER…
I will certainly not be scanning all my rolls of film in RAW – just the most treasured ones.
SOFTWARE & HARDWARE
Images are scanned using an Epson Perfection V850 Pro which, amongst other things, can scan in infra-red – more on that in the article. The scanner is connected to a Mac plus Studio Display. Scanning software is Silverfast 9 SE Plus by LaserSoft and, crucially for this exercise, Silverfast HDR 9. Images are then processed in Lightroom.
Silverfast settings
For best results with 35mm colour film negatives it is very important to scan in 64-bit HDRi RAW. This will ensure that an infra-red scan will be added to the RAW data. This is important because all dust, fine hairs and other detritus on the negative – most of which you cannot see with the naked eye – is removed.

Sadly, Black and White negatives cannot be scanned using infra-red but can still be scanned in RAW – just set to 16 or 32-bit HDR RAW. I scanned old negatives taken by my father in 1960 and the results were okay, but not brilliant; there was little to be gained over scanning in non-HDR 16-8bit and the files are a lot smaller.
I tend to scan colour negatives at 3200 or 4800 ppi, depending on the quality of the originals and the personal value I attach to them. A single image scanned in 64-bit HDRi RAW at 4800ppi will be an astonishing 250MB or more in size so you need plenty of hard disk space. The same image at 3200ppi – as with those of Yosemite above – will be around 120MB.
You are given two file formats to save images – DNG and TIFF. I would recommend DNG. The DNG file is essentially a negative that must be processed using special software – Silverfast HDR 9. No other software I tried – Lightroom, Apple Photos, DxO PureRAW or DxO Photolab could ‘see’ the image.
Silverfast HDR 9
All of the data scanned in Silverfast – iSRD, AACO, Gane, USM and so on (these will only be meaningful for Silverfast users) – exists in the DNG file. When you import the DNG file to HDR 9 you can switch these on or off according to your preference. Note that all the usual exposure, colour, shadow and other data you would expect to see in a digital RAW file is there.
Once your DNG images are in HDR 9 you can choose to export them in one of four formats: TIFF, PSD, JPEG or PDF. I always choose TIFF and I believe this contains the most RAW data for use with Lightroom, Apple Photos, Luminar or DxO PhotoLab.
The resultant TIFF file will be about 190MB if scanned at 4800ppi and about 90-100MB if scanned at 3200ppi.
Lightroom
After scanning with Silverfast and processing with Silverfast HDR you have a TIFF file that can be used in whatever your preferred photo software is. I use Lightroom and Apple Photos most of the time but have also used Luminar and DxO PhotoLab.
It is possible to get very good results in Lightroom, especially with HDR ‘on’, although if you select ‘auto’ – as I usually do – you might initially think that is a mistake. It isn’t. Whites are generally too ‘blown out’ but they can be toned back dramatically with the ‘dehaze’ and ‘highlights’ sliders. You will be surprised at how much scope there is for playing with the sliders over a greater range than you might be used to.
DxO PhotoLab 9
I have DxO PhotoLab 9 on trial so I thought I would give it a go. I must say I was able to get very good results with it, even with only automatic settings applied. Denoising and demosaicing is limited to ‘standard’ but that is fine. Since these are scanned images there is no camera or lens data (obviously) but I found the automatic Smart Lighting, ClearView Plus and Colour Rendering settings to be very good and require little tweaking. Surprisingly good results and with less effort than with Lightroom.
Any questions?
This is a quick overview of a weekend’s work after some weeks of experimentation. If you have any questions I shall do my best to attempt to answer them,

Any thoughts? Leave a comment!