It always irritates me that so much technology has built-in obsolescence and therefore a short life. How short is usually unknown at the time of purchase. For example, I have many films on LaserDisc that I have not been able to play since the end of the naughties. I have purchased many of them again, either to stream or, for superior picture and sound quality, as 4K discs, an expense that I think is unfair.
However, when it comes to photographs, many of us committed them to Photo CD, a service provided by Kodak and Boots as well as others. I am very glad I downloaded PCD files from Photo CD’s onto a computer at the time – and kept the original negatives and slides – because I would never see them again otherwise. Unless I fork out for software I would hardly ever use, and I am not prepared to do that.
In this article I explain how I scanned originals and how the results compare with the same images on the original Photo CD. I was quite surprised by the outcome!
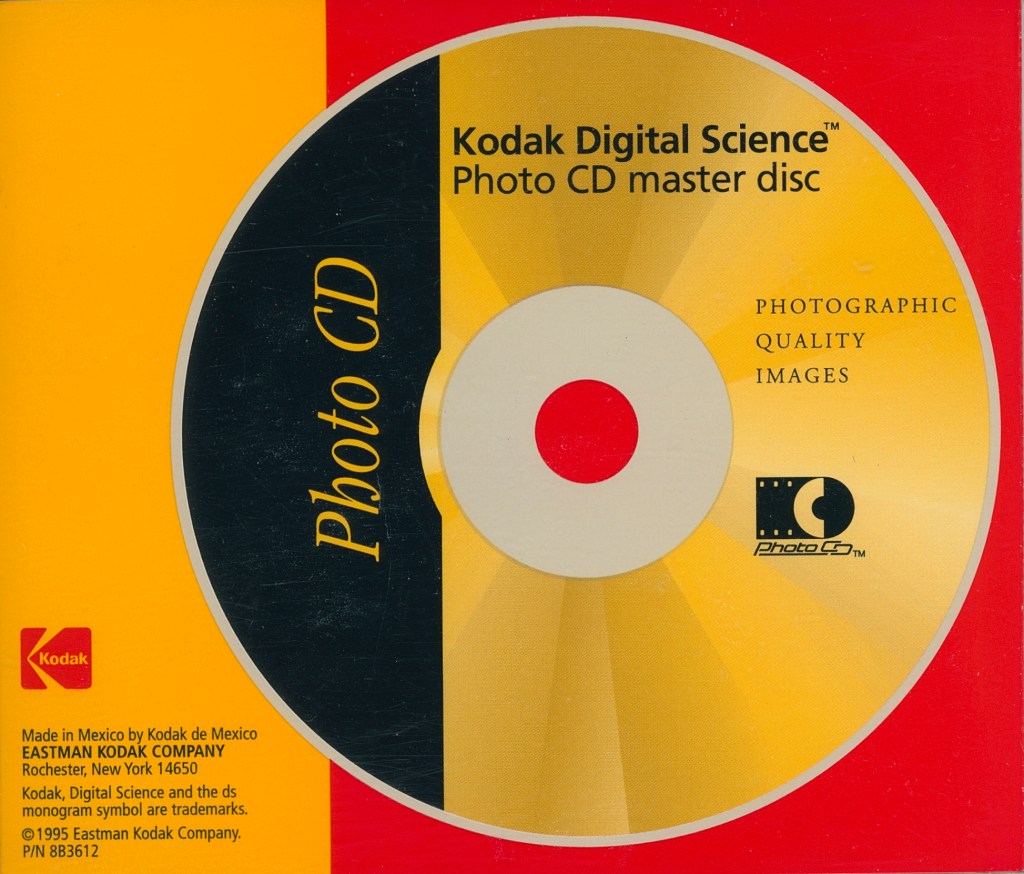
Kodak Photo CD’s were popular in the 1990’s as a way of preserving valued photographs but also to view them on computers and televisions. However, they were provided in PCD format that was fine at the time – on Windows and Mac – but which no longer work.
Well, that is not strictly true. I do not have Photoshop, a vastly overpriced app in my view, but I am told that it is capable of viewing PCD files. Lightroom and Lightroom Classic can’t see them. Neither can Apple Photos, Pixelmator Pro, Affinity or Luminar Neo – I’ve tried them all.
What is a PCD file?
No, not Photo CD as you might expect, but Point Cloud Data. It was used (still?) by print firms and, in the case of photographs, holds a great deal of data in a relatively small file. In this way you can fit over 80 high-resolution images on a CD. To give you an idea, a PCD image on a Photo CD might be about 4.5MB, but when copied from the CD to a Mac as a TIFF file will be about 80MB.
But you can buy software online that will convert PCD files to JPEG or TIFF. I tried what is regarded my many to be the best – pcdtojpeg – but was not prepared to fork out $80 for it, plus whatever tariff applies if you purchase outside the US, which is a bit of a nightmare under Trumponomics.
No Photo CD access? Scan!
So, if you kept the original negatives and slides you can scan them, which is VERY time consuming but, if you value the photos enough, well worth it. You also need a lot of good kit if you are looking for results that are as good as or better than the Photo CD originals.
Hardware
I am lucky to have an Epson Perfection V850 Pro scanner, but other scanners are available. One of the important features of this is that it scans in infra-red as well as ‘normal’ light. With the right software you can scan negatives with an infrared pass, which is very effective at removing dust, fine hairs and other detritus that may have settled on your negatives over the years.
Software
Back in the naughties I scanned on very inexpensive printer/scanners using their in-built software. Being a perfectionist, this was never going to be good enough for me, and the results were indeed pretty awful.
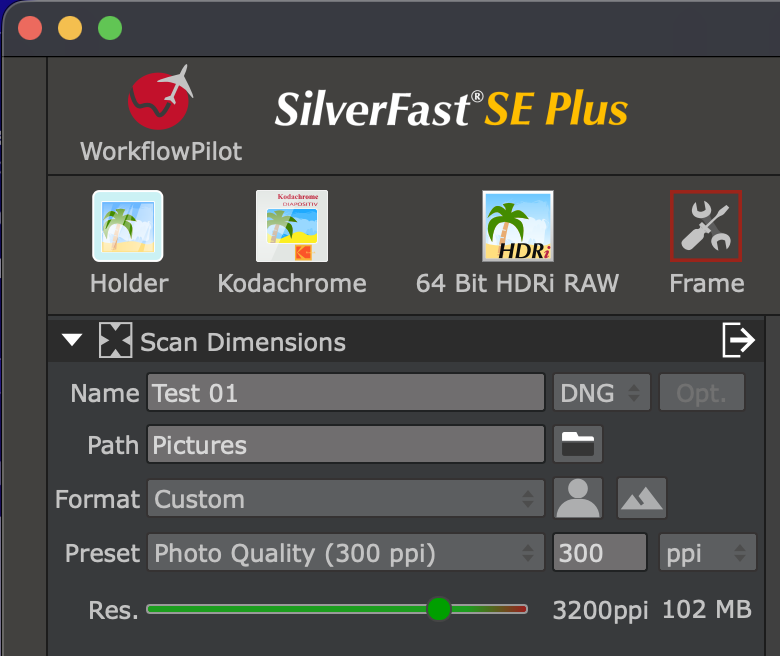
I ended up scanning them all over again when I discovered Silverfast (by LaserSoft Imaging) which, fiddly though it can be at times, does an excellent job. After using Silverfast 9 for some time I took the plunge and purchased Silverfast HDR to go with it.
Some of the negatives I scanned in 2020 – a Covid project – I am now scanning again in 64-bit RAW HDRi. That little lower-case ‘i’ is important – more of that later.
A practical example
I took the image below in June 1988 on a good old analog Canon camera. I used Kodachrome at the time, so slides. Which one do you think looks best?


Images reproduced here at 90 per cent of quality and reduced to 1400px on the long side.
It is very important to note that if you are reading this on a screen that does not have HDR capability, the image on the left may not be looking at its best. Any Apple device – iPhone, iPad, Mac, Apple TV – will be fine – as will many other devices.
The following are key points to note:
- The Kodak CD image (right) was scanned (I assume by Kodak) soon after the photo was taken, so should be in very good condition and to have deteriorated very little in the intervening time.
- The slide (left) was scanned 37 years later and is therefore likely to have deteriorated in quality, especially given the number of house moves in that time! However, in my opinion it has aged very well.
- Files on the Kodak CD were transferred by me to a computer back in the days when that was possible. I also had the foresight to save them as TIFF as well as JPG files, as the TIFF contains more useful data about each photo.
- If your ultimate goal is to work on images in Lightroom and you wish to switch ‘on’ the HDR button, you really should save the image as TIFF and not JPG.
- The image on the left was scanned in 2026 using Silverfast 9 SE, with the settings shown in the screen grab below.
Why HDRi RAW?
There is no point scanning with the HDR RAW setting unless you have Silverfast HDR software. Likewise, there is no point scanning in HDR’i’ unless your scanner has infra-red capability.
I always save scanned RAW images in the DNG format, but you could also save as TIFF. You do not need to select any ‘tools’, as all the information required for the adaptive contrast, grain and noise elimination, unsharp masking and other tools are contained in the DNG file – and can be applied according to your needs in Silverfast HDR.
The DNG scans are then loaded into the Virtual Light Table in Silverfast HDR, where you can prepare them for export in your preferred format to your favourite photo software. I always save as TIFF and import to Lightroom.
As an aside, I find that some – but not all – of the tools in Luminar NEO are very good when working with scanned slides and negatives. The Luminar plug-ins for Apple Photos and Lightroom Classic are good, but the Apple Photos one is much smoother and easier to use. There is no plug-in for the Lightroom that most of us use, so the Apple Photos/Luminar combination can be very effective. However, if there is something specific that I want to do to a photo, like remove powerlines, lighten faces or use the supersharp or noiseless tools I will use Luminar, then export the image as full-fat TIFF to import (re-import?) to Lightroom. If only software existed that could do it all!
Processing scanned RAW HDR images in Lightroom
You have scanned your negatives or slides in Silverfast 9 as DNG files. You then process them in Silverfast HDR in order to use all the Silverfast tools, and save them as TIFF. Finally you import them into Lightroom.
Now, flick that HDR switch, immediately followed by ‘Auto’. You might be surprised at how good your old photos are looking! Don’t be afraid if elements in the photo look ‘blown’ – bright clouds for example. Do not switch HDR off! The best way to tone down blown areas is to use a combination of the colour-grading wheels and the ‘highlights’ and ‘whites’ sliders in the ‘Light’ section.
In my experience skies can be the most problematic areas in old photos, with grain being a particular problem. I find the best way to deal with this, alongside the suggestions in the previous paragraph, is to create a ‘sky’ mask and turn down the ‘texture’ and ‘clarity’ sliders. You sacrifice detail in the sky but the softer effect can look good, as can more uniform blues.
Anyway, I could go on, but it is fast approaching movie time, so I shall warm up my cinema system and get a film going – 4K HDR of course!

Any thoughts? Leave a comment!